Changing a Watermark
With the Print Preview, you can add a text watermark in a document, or turn a picture into a document's background. It is also possible to use both textual and image watermarks simultaneously.
To invoke the Watermark dialog, click the Watermark  button on the toolbar.
Adding a Text Watermark
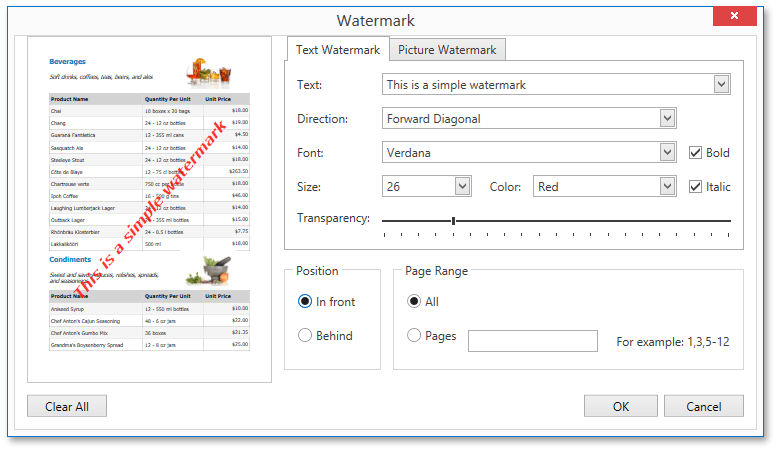
To add a text watermark, open the Text Watermark tab. Input the required watermark's text or choose one of the provided options in the Text drop-down list. Then, define other text properties, such as direction, color, font, size, transparency, etc.

Adding an Image Watermark
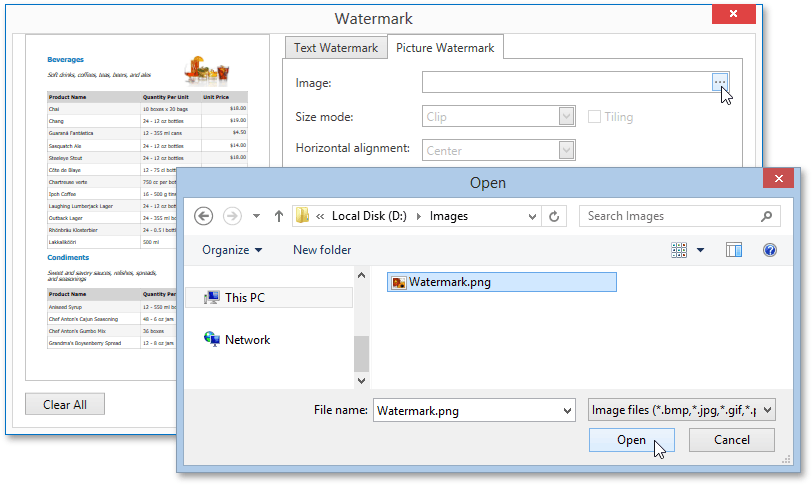
To add a picture watermark, switch to the Picture Watermark tab. To load the image to be used as a watermark, click the ellipsis button for the Image property. In the invoked dialog, select the file containing the image that you wish to load and click Open.

Then, you can specify the picture's properties, such as the size mode, alignment, transparency, etc.
Specifying Watermark Properties
At the bottom of the Watermark dialog, you can select a watermark position behind or in front of the document, and specify the page range in which the watermark will be printed.
These settings are in effect both for text and image watermarks.
Removing a Watermark
To remove watermarks from a document, click Clear All in the Watermark dialog. Then, click OK to save changes and close the dialog.