Add and Remove Table Borders
Add Borders
- Add Borders to the Whole Table
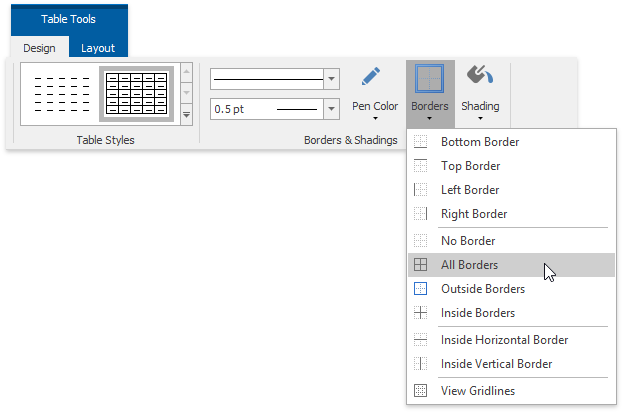
On the Table Tools/Layout tab, in the Borders&Shadings group, click the Borders button and select one of the available border sets.

- Add Borders to Specified Cells Only
Display gridlines to view boundaries of the table cells and select cells to be provided with borders.

On the Table Tools/Layout tab, in the Borders&Shadings group, click the Borders button and select the border that you want to apply to cells.
Remove Table Borders
- Remove Borders from the Whole Table
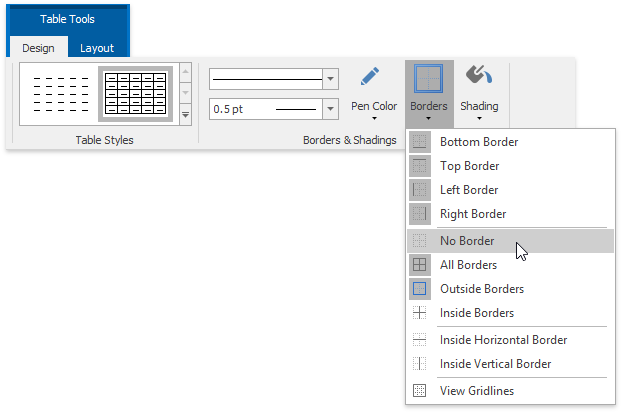
On the Table Tools/Layout ribbon tab in the Borders&Shading group, click the Borders button and select No Borders from the invoked list.

- Remove Borders from Specified Cells Only
Display gridlines to view boundaries of the table cells and select cells from which you want to remove borders.

On the Table Tools/Layout tab, in the Borders&Shading group, click the Borders button and select No Borders from the invoked list.
Show or Hide Gridlines
Gridlines show boundaries of a table cells when no borders are applied. Unlike borders, gridlines are shown on screen only and never printed.

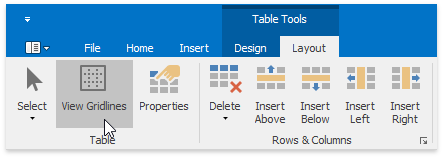
To show or hide table gridlines, on the Table Tools/Layout tab, in the Borders&Shading group, click the View Gridlines button.
