Create Appointments
Context Menu
The following items are available in the context menu, invoked when you right-click any region of the Scheduler (except for areas covered by appointments).
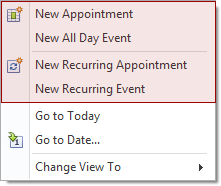
New Appointment
Invokes the Edit Appointment dialog.
The Start time and End time values are initially set to the lower and upper boundaries of the current date and time selection.
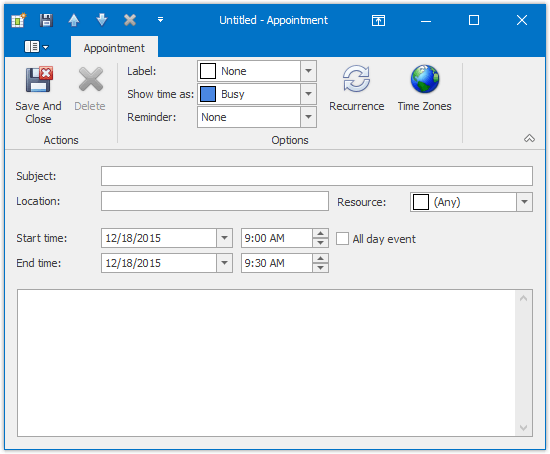
Fill in other fields, if necessary. For example, use the large text box at the bottom of the dialog to enter text, which will be shown as an appointment's description in a Day or a Work Week views.
You can also select the Reminder check box to enable appointment notifications (see Manage Reminders).
New All Day Event
Invokes the Edit Event dialog, which is used to create a new all-day appointment (also called 'all-day event'). The dialog is identical to Edit Appointment (shown above), except that in this case, the All day event option is checked, its time range is measured in days (not hours) and marked as Free. The appointment can be transformed into an all-day event and vice-versa by checking this box.
New Recurring Appointment
All appointments maintained by the scheduler can either be simple (non-recurring - i.e., they happen only once), or recurring - occurring multiple times within a specified time interval.
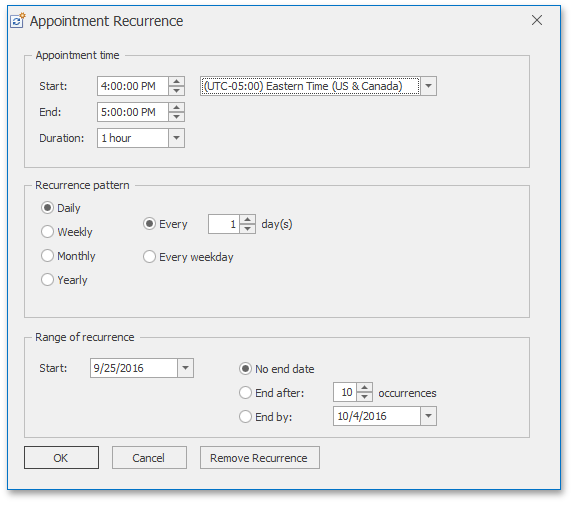
Selecting this menu item invokes the Edit Appointment dialog, used to create a new appointment, and also invokes the Appointment Recurrence dialog, which allows the recurrence pattern to be specified for the new appointment.
New Recurring Event
Selecting this menu item invokes the Event editor dialog used to create a new all-day appointment, and also invokes the Appointment Recurrence dialog, which allows the recurrence pattern to be specified for the new event.
Bar or Ribbon Interface
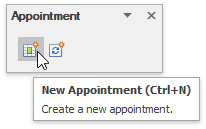
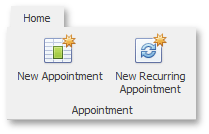
If a scheduler is provided with the Bar or Ribbon interface, you can create new appointments (simple and recurring) using the New Appointment and New Recurring Appointment buttons on the Appointment toolbar or Ribbon page group. These buttons invoke the Edit Appointment and Appointment Recurrence dialogs respectively.
| Create a new appointment via Bar interface | Create a new appointment via Ribbon interface |
|---|---|
 |
 |
Keyboard Shortcuts and Mouse Operations
| Action | Description |
|---|---|
| An alphanumeric key or ENTER | Pressing an alphanumeric key or ENTER invokes an in-place editor where you can type the subject of a new appointment occupying the currently selected area. Once you have typed your appointment's subject, you can either create and save the appointment by pressing ENTER or changing the focus, or cancel the operation by pressing ESC. The type of the created appointment depends on the selected time cell(s). When typing is done in Day or Work-Week view, the appointment is created with the time interval starting with the earliest time of the selected cells and ending with the latest, and the time is marked as Busy. If an all-day area is selected, then an all-day appointment is created with the time marked as Free. When the scheduler display mode is Week or Month view, the appointment is created with the start time set to 12 AM of the first selected day, and the end time is set to 12 AM of the day following the last selected day. |
| Double-click | Double-clicking within a scheduler view's time cell that does not contain any appointments invokes the Edit Appointment dialog described above. |
| CTRL+N | Pressing CTRL+N invokes the Edit Appointment dialog. Then this dialog can be used to create a new appointment. |
| Dragging an appointment while holding CTRL | This action creates a copy of the selected appointment and moves it, leaving the original appointment intact. |