Insert an Image
To insert an image into an editor's content, position the mouse pointer on the place in the text where you want to add an image and click the Insert Image button.

Define the required parameters of the image within the invoked Insert Image dialog.
Insert an Image Stored on the Local Machine
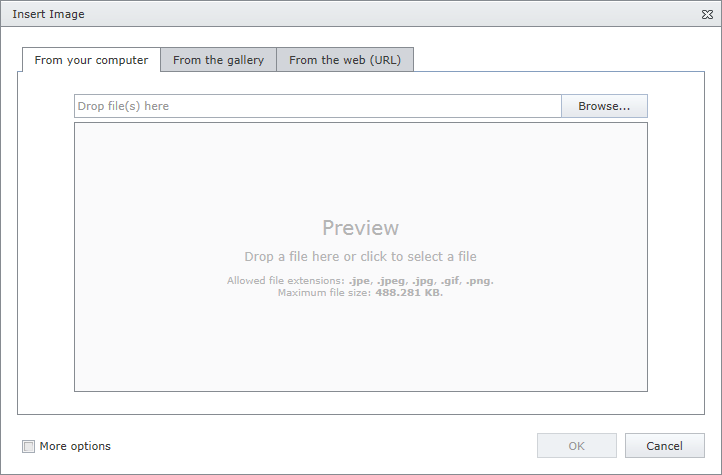
Select the From this computer radio button within the Insert Image dialog.

Click the Browse... button, or edit box, or preview area to invoke File Upload dialog. Select the image file that you want to add and click the Open button to upload the image file to the web server.
Or you can drag and drop a file to the edit box or preview area to upload the file to the web server.
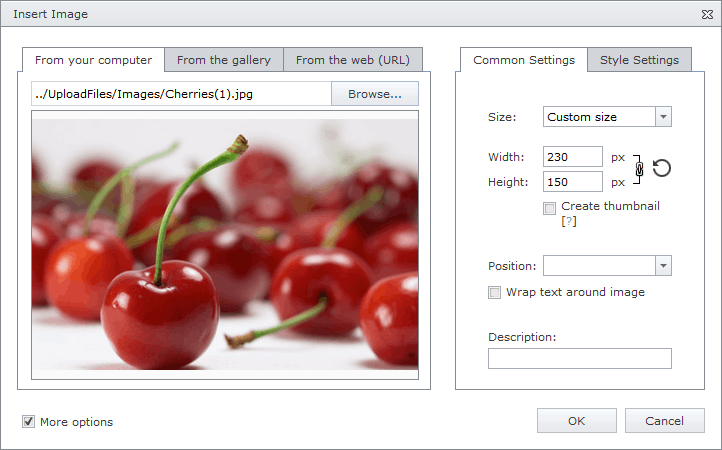
Check More Options to customize the image settings (optional).
After completing all the steps above, you can preview the image in the Insert Image dialog.
Click the OK button to close the dialog and insert the image into the editor's content.
Insert an Image from the Predefined Gallery
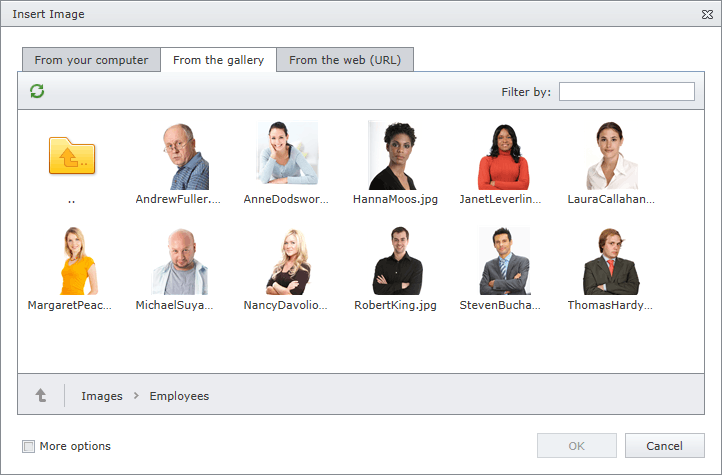
Click the From the gallery tab in the Insert Image dialog.

Select the image that you want to add and click the OK button to close the dialog and insert the image into the editor's content.
Insert an Image by Specifying Its URL
Click the From the web (URL) tab in the Insert Image dialog.

Type the web address of the image file in the edit box.
Check Save file to this server if you want to upload the image to the web server.
Check More options to customize the image settings (optional).
After completing all the steps above, you can preview the image in the Insert Image dialog.
Click the OK button to close the dialog and insert the image into the editor's content.
You can modify the image after inserting it into the HTML editor.